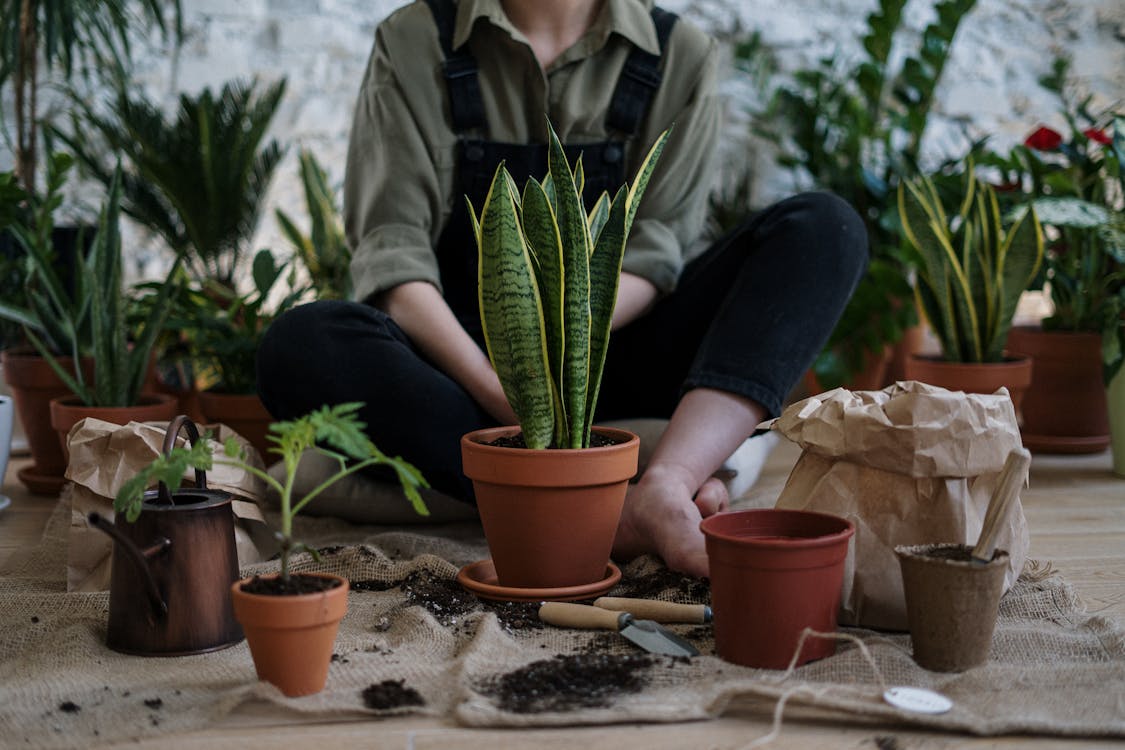
Sansevieria, commonly called snake plants or mother in law’s tongue, are the ideal houseplant for beginners. They are nearly unkillable, adapt to a variety of environments, and take one or two missed watering schedules exceptionally well. They also add a wonderful structural element to any room in your house. However, even though these plants are simple to grow, there are some issues that can arise. Read on and learn how to repot snake plant.

Many of these plants are brought on by root-bound plants. Although they don’t mind being crammed tightly together in a growing pot, snake plants eventually do need to get repotted. Even though they haven’t outgrown their current pot yet, the quality of the soil degrades with time, necessitating top-up regardless.
Fortunately, repotting your gorgeous snake plant truly is a really simple procedure. A fresh container, a homemade potting soil, and a few minutes of free time are all you need.
Keep reading to know more about the proper ways to repot Snake Plants!
Related: How To Propagate A Snake Plant: What You Need To Know
What Are The Signs To Look For If Your Sansevieria Plant Needs Repotting?

Let’s first make sure that your Sansevieria plants really do need some replanting. Repotting your Snake Plant when it doesn’t need it can unnecessarily stress it out. Never overlook these few telltale signs, which only appear when it is really necessary.
1. You Can See Roots Peeking Out From The Pot’s Drainage Holes
All indoor plants display this cautionary indication. If you find any roots extending through the drainage holes of the pots, your Snake Plant has to be replanted.
The roots are being forced out of the bottom part of the container in this way because they have nowhere else to grow. Roots are likely already occupying the majority of the container because there is now little room for them to spread out.
If you keep using your pot in this way, it won’t be able to absorb nutrients and water from the potting soil due to the crowding. This limited growth will eventually cause the plant to perish. Once you observe roots poking through the pot’s drainage holes, prepare your materials and begin repotting.
2. You Can Observe Soil Drying Out Too Rapidly
A container that drains excessively rapidly won’t support a healthy plant because water seems to almost immediately rush out of the bottom rather than saturating and nurturing the soil. Although snake plants can go for extended periods of time without water and don’t need much of it, they will surely suffer if they do.
Rapid water draining can be a sure sign of poor soil. The soil deteriorates and loses structure over time as a result of frequent irrigation and root development. It can no longer hold onto water and nutrients, therefore they cannot be transported to the plant roots.
This could also become the situation if the plant roots in the pot have gotten too big. As the roots spread out, there is less and less room left for soil. As a result, there is less soil to contain water when it compacts or escapes the pot, causing it to spill out the pot’s sides.
This can be a clue that your snake plant needs a soil top-up refresh and would greatly benefit from a repotting, even if it hasn’t necessarily outgrown its current container.
3. Plant Pot Is Easily Cracked
In extreme cases, the snake plant’s growth and space requirements could be so great that the pot it is in would literally break. If the pot is going to break, rhizomes pushing up against the pot’s edges and altering its shape will show this.
While they may withstand some crowding, snake plants cannot thrive in a damaged pot. Since the liquid will leave the growing pot rapidly, the plant’s roots will definitely start to spread out and breach the soil confines. Therefore, before your Snake Plant has an opportunity to crack its growing pot, repot it.
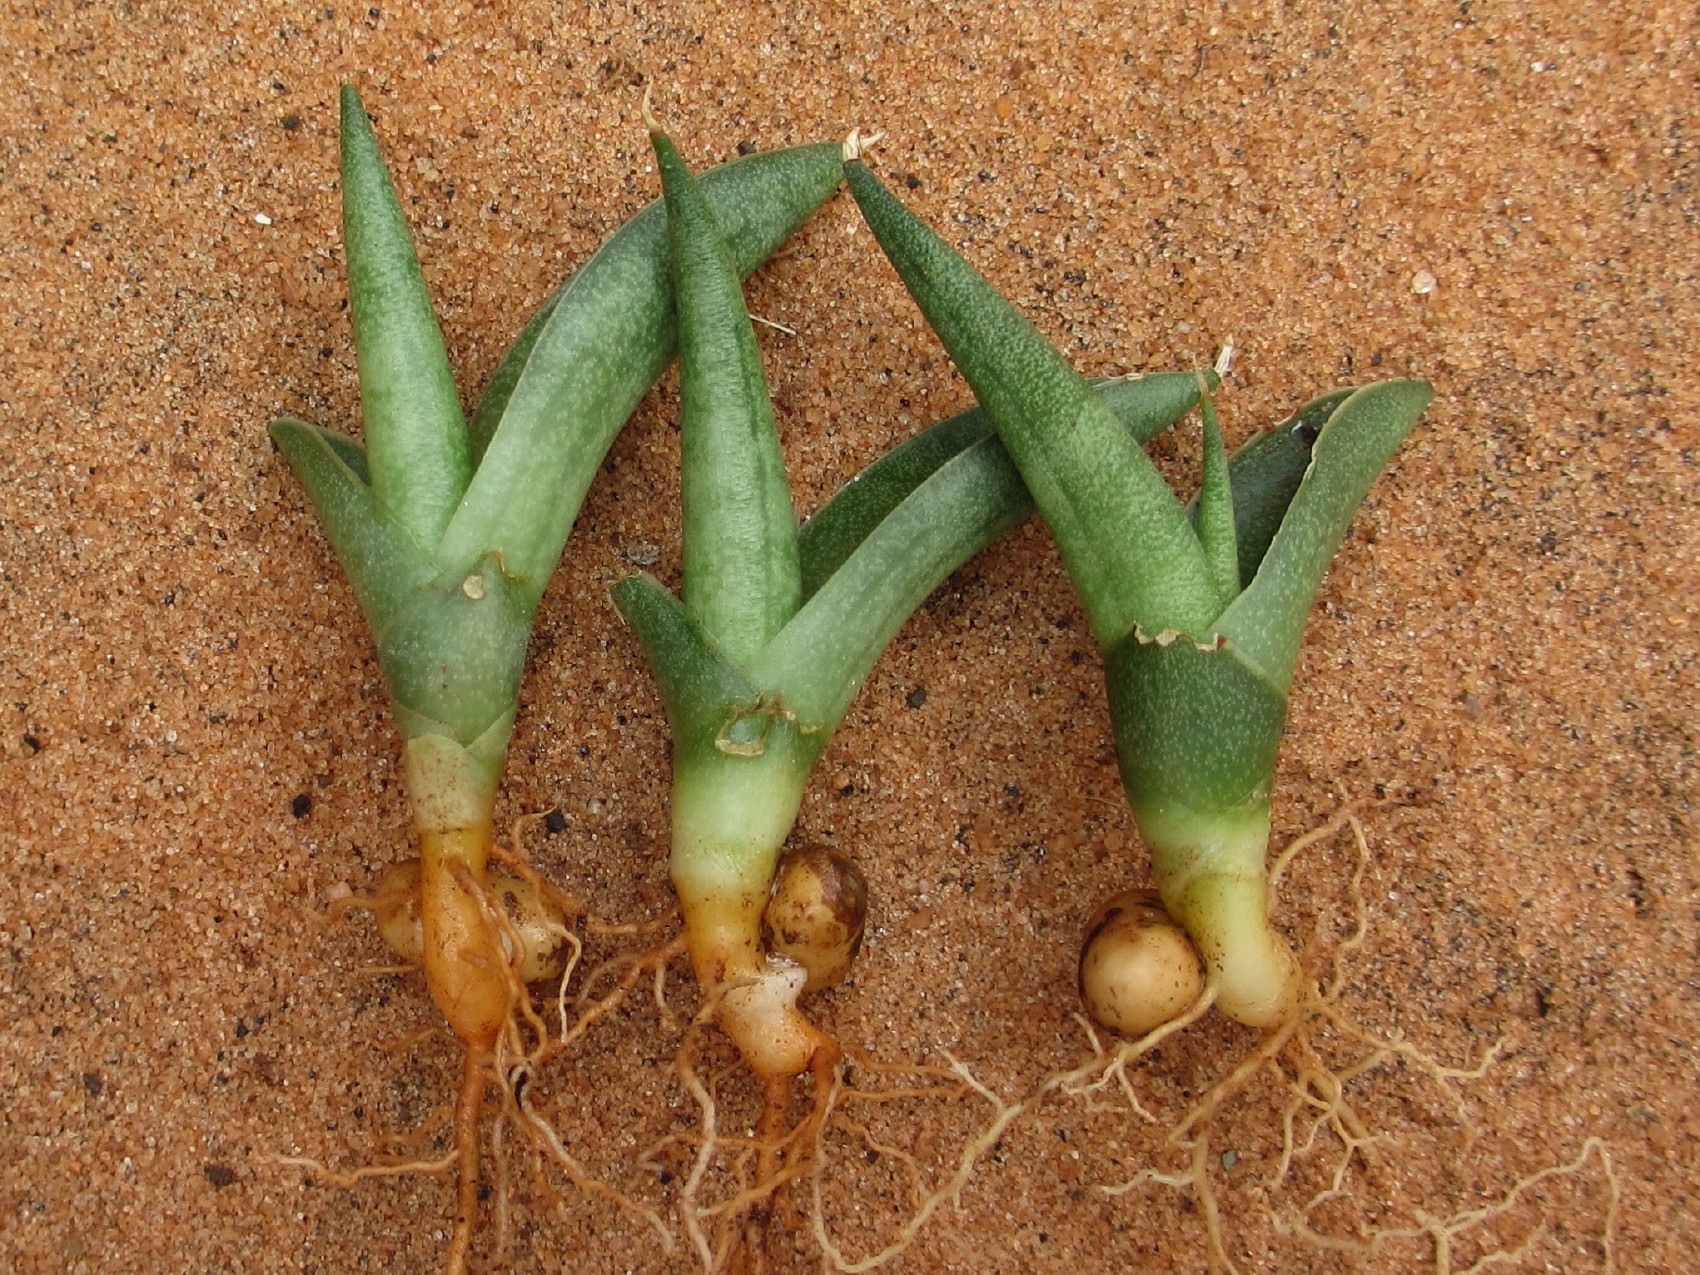
4. You Can See Plant Pups Sprouting
By growing new shoots, sometimes known as pups, which you can find in the plant’s base, snake plants multiply. These appear to be miniature snake plants that emerge from the ground nearby the plant and are connected by rhizomes. A plant with a single plant pup may not necessarily require repotting, but a plant that has multiple pups will eventually develop larger and outgrow the growing pot it is in.
If so, you can use the time spent repotting to propagate your plants. With the use of a sharp knife, you can separate pups from the mother plant that have developed enough roots and repot them so they can develop to an even more mature plant.
5. The Plant Occasionally Topples Over
The Snake plants develop tall, substantial leaves and robust rhizomes, which may cause the plant to become top-heavy. The pot may keep tipping over as a result of this and the soil losing its texture. This disruption is bad for your plant, but it can also indicate that you should give your Sansevieria plant a little more room to expand.
Your plant shouldn’t ever be twice as big as the pot it’s in, as a general rule. Pick a pot that is one to two sizes larger for repotting. A growing pot with excessive additional space shall hold more water than necessary, which can cause root rot. In a pot just a few sizes larger, these slowly growing plants won’t require repotting for a few more years.
6. You Can See Roots Growing Above The Ground
Similar to when your plant’s roots are poking out of its container, when the Snake plant’s roots are visible above the soil, it indicates that the plant needs more room. The roots of the plant develop upward going above the earth, since there is not enough space for it in your pot.
There is insufficient room in the plant’s container, as seen by the roots poking above the surface. Lack of space results in a more compacted, but less oxygenated potting soil mix, which is particularly bad for your Snake Plants.
7. Growth Is Halted For Your Plant
You cannot anticipate seeing new growths on a Snake plant that has been allowed to become root-bound. A root-bound plant will eventually experience growth that is stunted, crooked, or slow in comparison to normal.
Because plants are unable to effectively absorb the nutrients and minerals necessary for growth, growth in a root-bound plant ceases. Simply put, these nutrients remain in the growth media until water eventually flushes them out. Your plants will undoubtedly experience nutrient deficiencies if they aren’t able to absorb nutrients. Small, poorly formed leaves will replace the lush, evergreen ones on your Snake Plant.
Related: Yellowing Snake Plants: How To Treat Them and More Information
Steps On Snake Plant Repotting
1. Prepare The Potting Mix

Start your repotting journey by preparing the potting soil mix, which is the base of all the plants that are healthy. Different soil is needed for plants growing in pots vs. plants outdoor gardening. Garden soil holds too much water and doesn’t drain well, making it excessively dense for containers and prone to compacting.
Additionally, weed seeds in garden soil could continue to germinate and take nutrients from your plants, as well as bugs and diseases that can harm them.
You can choose to either make your own houseplant potting mixture or purchase it from a nearby nursery. Creating your own potting soil enables you to adjust and cater it specifically to your Sansevieria plant’s needs, which, in comparison to those of your other houseplants, can be fairly unique.
Snake plants produce large, water-retentive leaves that resemble succulents. They can take one or two missed waterings because of this, but they also need well-draining potting soil.
Due to their vulnerability to root rotting, these plants will eventually suffer root and leaf damage from too much water, which will result in drooping and mushy leaves.
Your snake plants prefer a gritty, exceptionally well-draining soil. Combine half mixture of high-quality potting mix and half of river sand to create your own blend. This considerably enhances drainage and more closely resembles the ideal environmental factors for your snake plants.
2. Take Out The Plant
You can concentrate on your plant after removing the soil. If the growing pot hasn’t already cracked, squeeze the sides to slightly loosen the potting soil in the pot’s sides before carefully removing it.
In order to make the removal process go smoothly, it is best to wait for a few more days before stopping to water your plant. The plant should then be carefully turned over and removed from the pot. You can now give the roots a fresh start by shaking off any dirt that clings to them if the soil isn’t particularly excellent.
Once the dirt has been removed, if you observe any fungal or bacterial indications, remove the soil thoroughly and gently wash the plants roots with water in order to remove any residual dirt.
3. Cut Off The Pups
Once the plant’s roots are revealed, any pups that are prepared for propagation should have their rhizomes.
If there aren’t too many of them, you can decide to leave them yet on the mother plant, but ultimately, they will grow into full, mature plants and fill the pot, thereby needing another repotting schedule. Additionally, doing this allows you to grow more snake plants. Truly, it is a win-win circumstance!
Make sure the roots are properly cleansed, and the rhizomes are visible. After that, use a very sharp knife to make a clean incision through the rhizome.
Make sure the rhizomes are visible, and the roots have been well-cleaned. After that, carefully cut through the rhizome with a very sharp knife. Keep the mother plant and each plant pup apart. Then, set aside the plant divisions so that they can be planted in fresher pots simultaneously.
4. Fill Pot With The Potting Soil
Your soil mixture should fill the plant pot by about a third. To stop soil from falling out of the bottom of your plant pot, if the drainage holes are huge, you could cover the pot bottom with a stone layer before you begin.
Before planting, the soil should be as airy and light as possible; avoid compacting it.
5. Replant Your Snake Plant
On top of the base soil layer, position the plant to be in the pot’s center. Gently hold your plant in position, add additional mix around its roots until it is full just a few inches from the top. The plant’s crown shouldn’t be covered by soil since it could possibly rot if it is left in wet soil.
When full, press down gently on the soil’s top layer. This holds the plant firmly in place, further eliminating any significant air gaps in the plant pot.
After planting, give the plants plenty of water to help the roots grow. As roots dislike being exposed to air and being dried for extended time periods, doing this will also help prevent shock. To enjoy the plant’s new pot for the next few years, put it back to its usual location under bright indirect lighting.
Related: Snake Plant Problems: Common Sansevieria Problems and How To Fix Them
What To Do After Repotting Snake Plant
It is fine to resume routine care once you repot a snake plant up into its new container. However, don’t water it again until the soil has dried out several inches down, and keep it in a location with bright, indirect light.
To avoid severe transplant shock, it is advisable for you to wait at least a month before fertilizing the plant.
How To Properly Check Snake Plant Roots

There are appropriate techniques to check your Snake Plant roots to make sure they can fit in the pot so that the plant roots are not harmed. Because the Snake plant roots are delicate, improperly handling them can cause serious plant harm.
First, water your plants and make sure their roots are moist before you can examine the roots. Crispy, dry roots are more brittle than the wet roots and are readily broken. Therefore, at least one day before your scheduled inspection, water your plant.
Checking for peeking roots in the drainage holes would be the next step. Snip any root ball or roots that are tangled as they try to escape through the drainage holes so you may remove the plant from the plant pot with ease.
Tap the pot’s sides gently to dislodge the compacted mass of roots holding your Snake Plant in place. If you’re using plastic or ceramic pots, you can skip this step because the plants can just slip right out of those materials. However, terracotta or stone pots with texture demand extra work, unlike your plastic pots.
After the plant has emerged, pay particular attention to the roots. Do not easily be confused with modest root boundaries; they are a common occurrence in Sansevierias and pose no threat to the plant. Instead, search for those that resemble compact noodles and have little to no dirt evident.
How To Select Pots For Your Snake Plant
You’ll need a new pot that is no bigger than two inches more wide at the top than the previous one in terms of size. The new container has to be a larger pot that has to have three or more drainage holes because Mother In Law’s Tongue do not ever want their soil to become soggy due to too much moisture.
So keep in mind that the better, the more drainage holes. It can also be a terracotta pot, a clay pot, a ceramic pot, even a plastic pot,depending on your preference.
Read a more detailed discussion to know more about choosing the right pots for your Sansevieria plants.
What Is The Best Growing Medium For Snake Plant
When repotting your plant, the potting medium is crucial. To completely cover your larger plant, you will be needing more of that growing medium.
Consider incorporating additional organic elements into your soil because your Snake Plant like an airy, nutrient-rich mix.
The mixture of growing media that is well-draining, rich, light, and chunky works well for Snake Plant. This kind of mixture not only encourages root growth but also maintains the aeration and moisture levels of your plant. Your soil may also benefit from the addition of peat, sphagnum moss, coco coir, perlites, and pumice.
How To Prevent Your Snake Plant To Be Root Bound

As plant aficionados, you can anticipate dealing with this for the whole of your journey as a plant parent, as it is a typical occurrence in gardens. Keep in mind that it is best to repot your Snake plants in a timely manner to prevent them from becoming root-bound.
Repotting should be done at least once every year, especially for young, active-growing plants. However, older plants need less repotting. They can be replanted, once every three years.
Frequently Asked Questions(FAQs)
- Do Snake Plants love to be crowded?
Indeed, snake plants enjoy being crowded. When they are badly root-bound, however, the pot may crack, or they may struggle to absorb the water and nutrients they require.
- Does a Snake Plant need water after repotting?
Yes, you should water a snake plant after repotting it. However, you shouldn’t water it again for at least two inches after the soil has dried up.
- Can two Snake Plants be grown together?
If the pot is big enough to hold both snake plants, you can put them together in one container.
- Can a Snake Plant be replanted in the fall or winter?
A snake plant can technically be repotted in the fall or winter. But because it’s entering a period of rest, it can make them weak or leggy in the winter. So wait till the early spring for the finest results.
- Do you need deep pots for Snake Plants?
No. Their rhizomes don’t grow deep; they spread out. More soil mass in a deep pot could cause them to stay overly damp.
Final Thoughts
Your Snake plants’ roots likely cover an area considerably larger than their leaves. If your Sansevieria is kept in its pot for a very long time, the roots will ultimately become entangled. Although having many roots may indicate good growth, they can also be harmful to plants.
Like us humans, it’s best to repot your plant in a larger container when it outgrows its current one to let it grow and become a healthy and thriving plant. Keep in mind that plants can only expand as far as their surroundings will allow them to.
Editor’s Recommedations
The Best and Proven Ways of Propagating Monstera Deliciosa Plant
36 Beautiful Aglaonema (Chinese Evergreen) Varieties You Must Have
Begonia Maculata Polka Dot: The Best Care, Propagation, and Watering Guide

The majority of people who have no interest in the subject, and aren’t green fingered assume that all plants and vegetables require the same growing conditions. This is not the case at all. Each plant has its own unique and interesting history and growing process.
I hope you will find The Natural List useful, and that it will help educate you on the wide variety of different flower and plant species there are across the globe.
- Top 10 Online Places You Can Trust To Buy Indoor/Outdoor Plants - July 2, 2023
- How To Use Plant Watering Globes Correctly? A Comprehensive Guide - July 2, 2023
- 25 Fantastic Gifts For Gardeners And Plant Lovers - July 2, 2023